Taking Back Tipsters: Change the Texture of Your Film Shots
1 49 Share TweetGive your photographs a new look by adding some textures. Here are three tips to try, whether you're a newbie Lomographer, an experienced analogue artist, or a professional DIY fan!
Beginner: Foggy Vision
Remember those blister foil packs that came with your medicine pills? Don’t throw them just yet because it will be very useful especially if you have a Lomo LC-A. Here are the materials that you will need:
- Blister foil pack that came with your pill (at least two of them)
- A pair of scissors
- Opaque tape
- LC-A/LC-A+


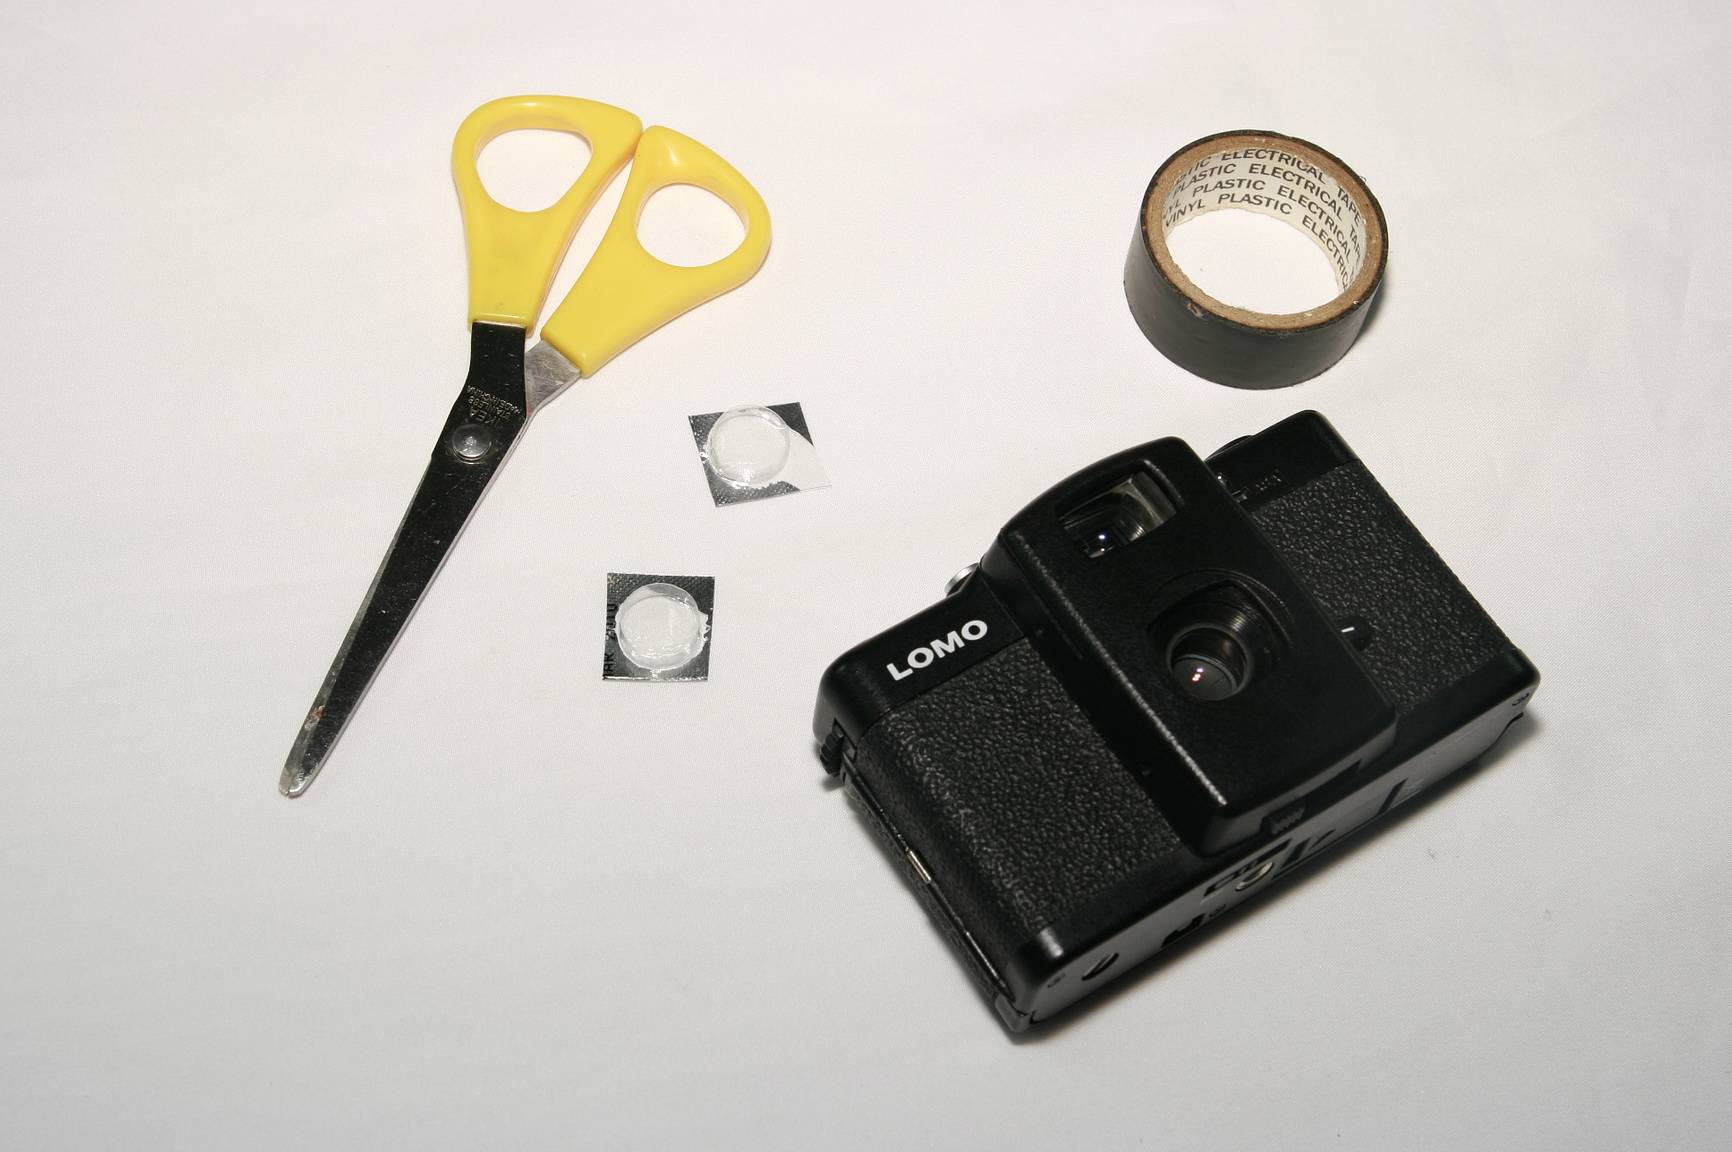


- Pop some pills and cut at least two of the blister foils that came with it.
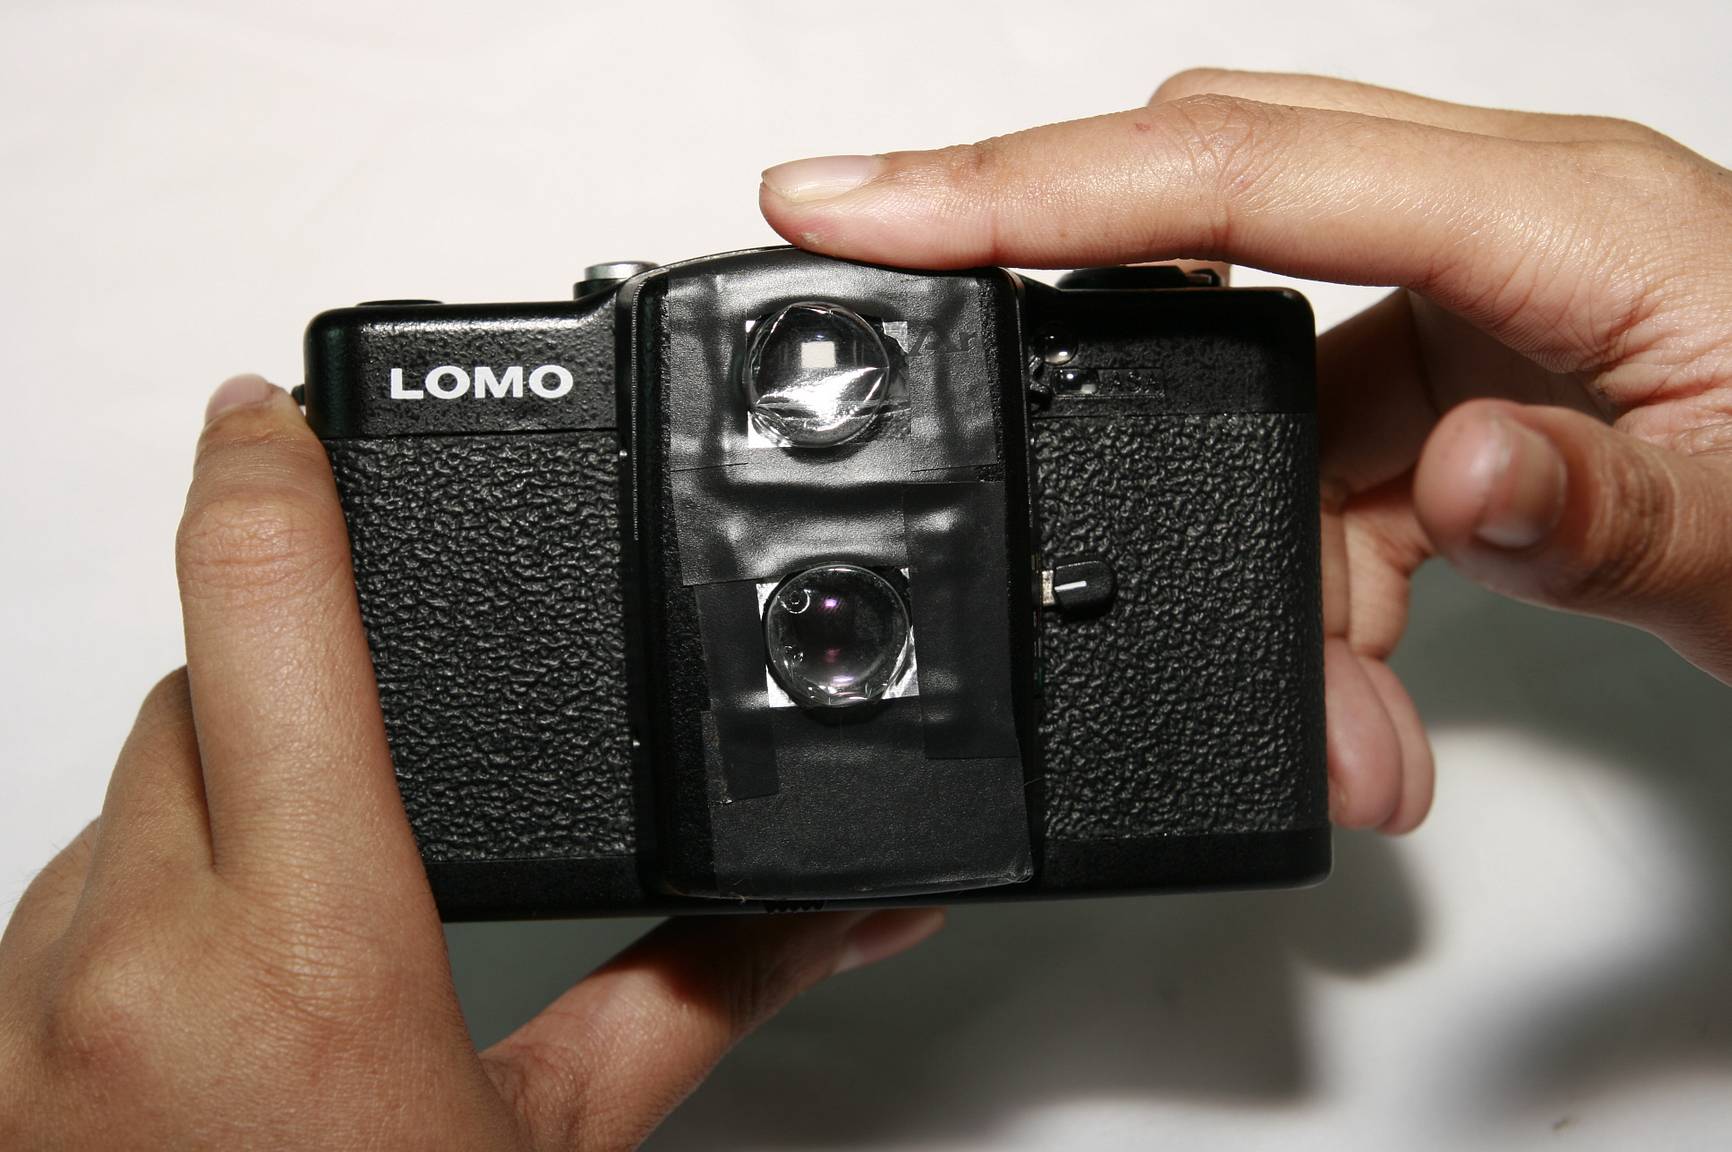
- Put one of it over the lens of your LC-A with an opaque tape.
- Tape the other one over the camera’s viewfinder to give you an idea of how your photo will come out.
- Now you’re done. Start shooting!
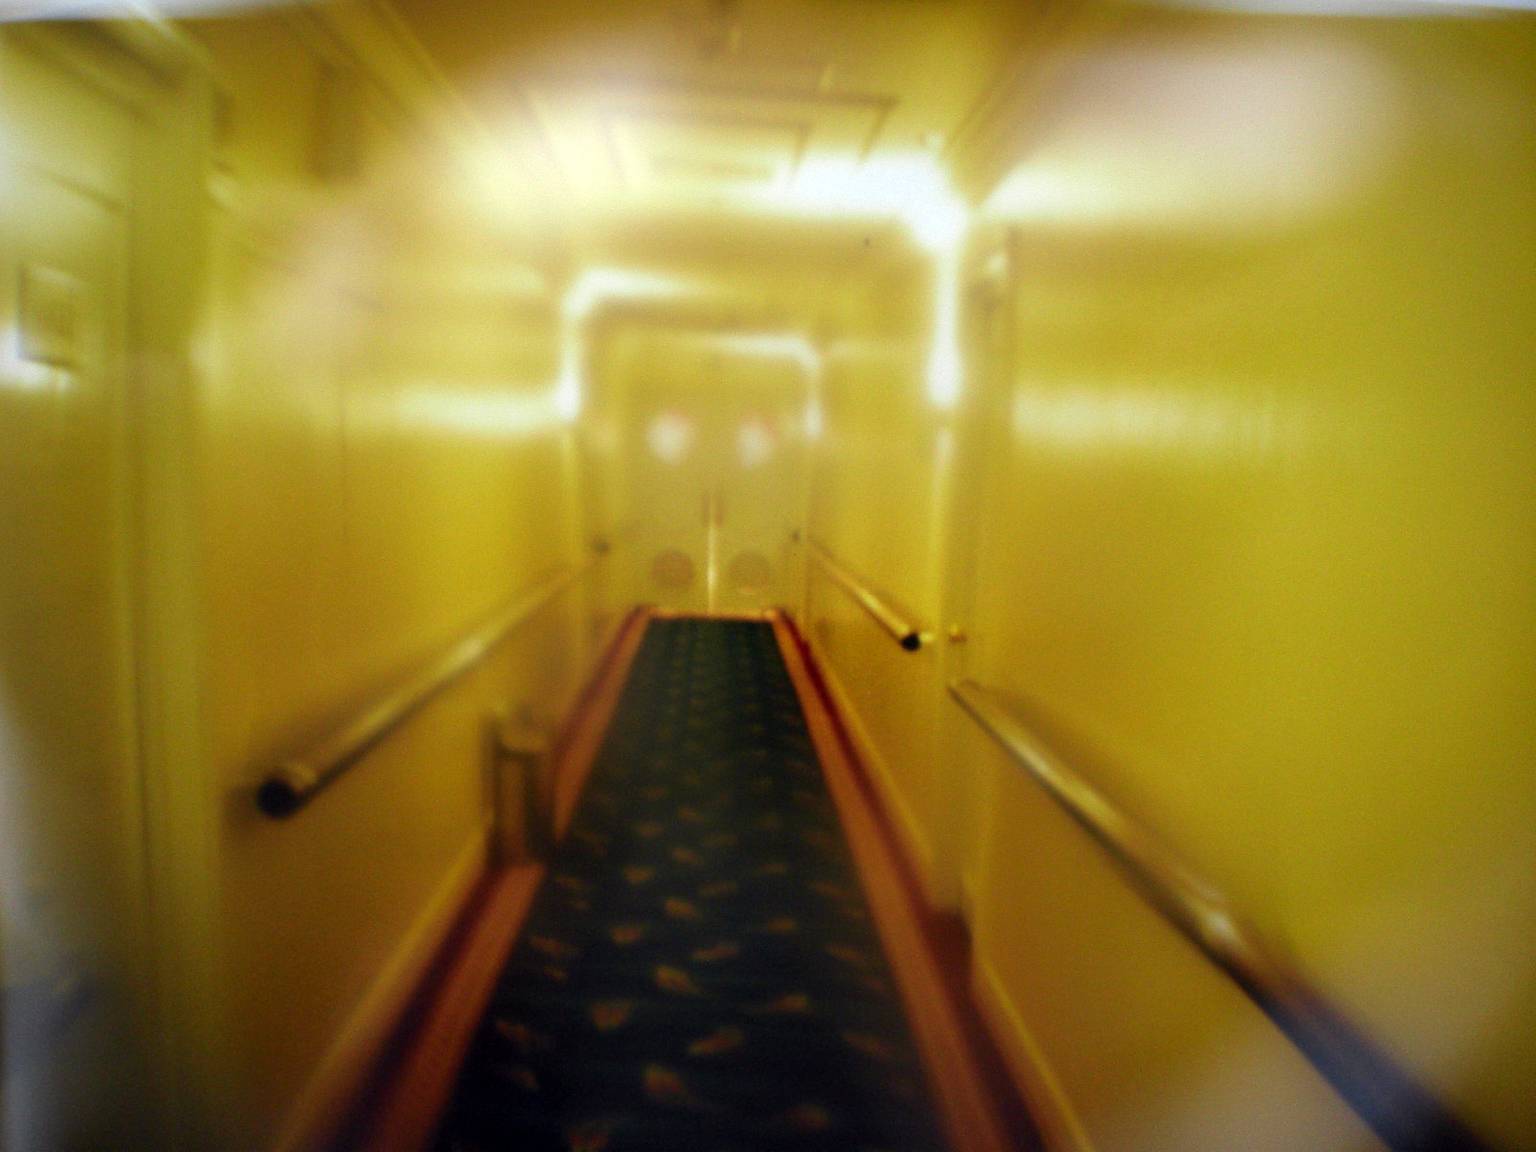
An easy enough modification to do with no lasting effects on your camera, but what about the photos? A smudged out, dreamy effect that removes clarity but enhances the appearance of your subject. Another plus is that you can easily exchange a clear foil for one with color for some extra distortion.


Intermediate: Texturing the Film
Bored of the clean and lean photos you get from rolls of film? Here's how to add cool textures to them.


Find a subject that has cool interesting patterns. For example, the one I used was a piece of wooden board with a wavy pattern. First, finish the entire roll of film by shooting the same subject (ie. the wooden board). Do rotate and change the 'composition' once in a while to get more random patterns. Once that is done, you'll have a roll of 'empty' film with textures waiting for the second layer! Do not be afraid to experiment with other textures, such as a tree trunk, a brick wall, or even the palm of your hand. You'll never know what cool results the two exposures will bring you. Have fun!
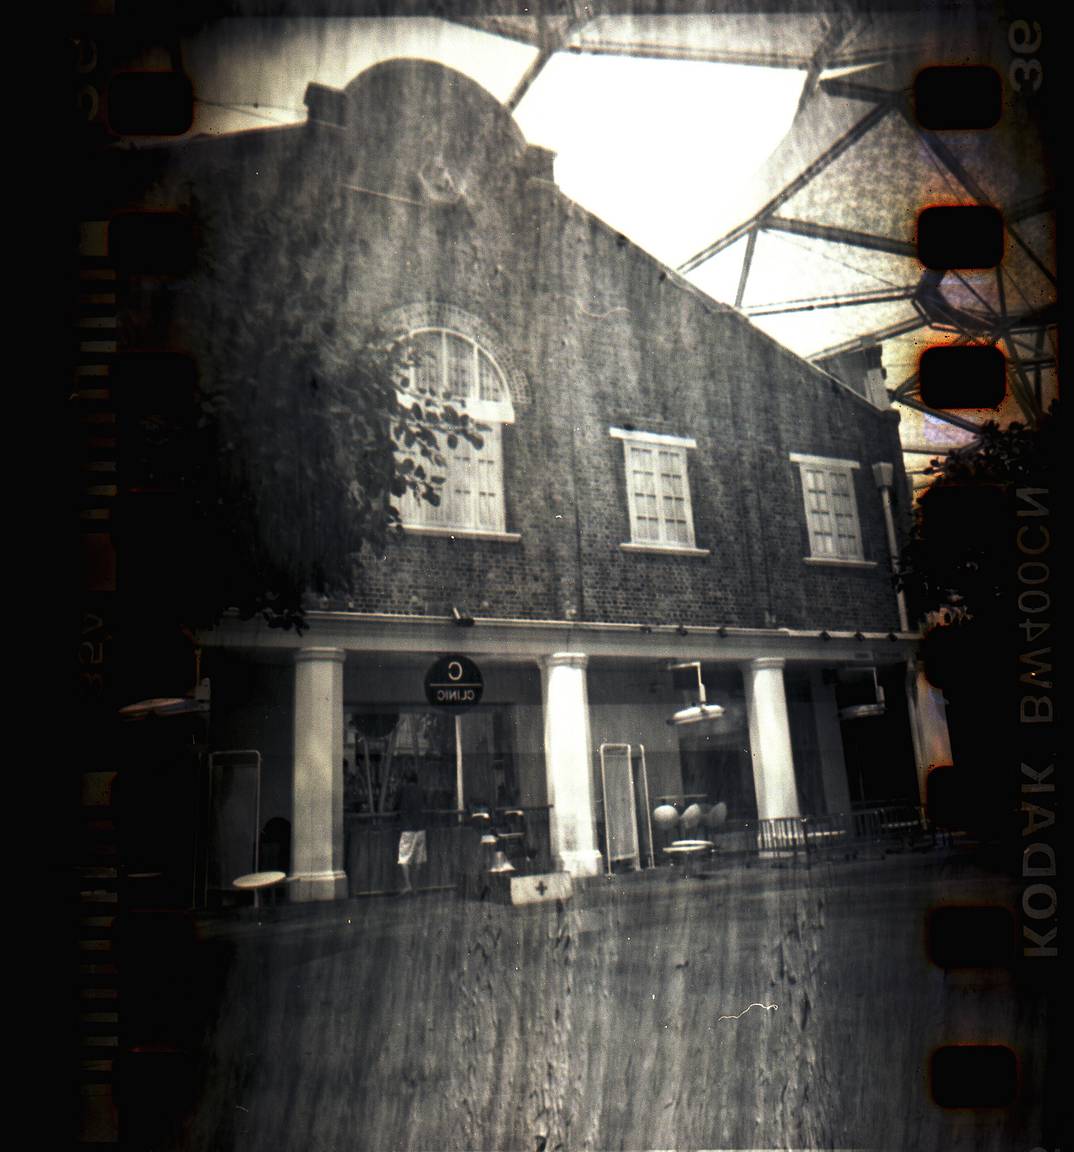
Advanced: DIY Lith Printing
To make a lith print, you need to have a lot of time on your hands, plus some color or black & white negatives and some suitable paper.


Lith printing requires the use of highly diluted with a paper developer, a substance that comes in two separate bottles to be mixed just before use. It may be labeled "mix 1+1+10" but you will make that maybe 1+1+30 or so. Overexpose your paper like crazy; that's maybe 3 or 4 steps (maybe 2.5 or 3 minutes' exposure on a 10x12" print). The paper goes in the developer and you wait for 5 to 20 minutes.
You will have plenty of time to listen to a good podcast. But don't leave the darkroom! You need to check your print constantly so that it stays under the surface of the developer. Development time is determined by the eye. At first, the image will appear as a faint, soft-toned image, but once the darks are showing, it all happens a lot faster. As soon as it looks "ready", snatch the print from the developer and quickly move it to the stop bath. Fix it as usual and your print is forever there!
Yes, it's not super easy to get it right the first time. But as you get the hang of it, you'll want to spend every day going through all your negs and lith print them to find something new in them.


Head over to our online shop to see an assortment of cameras, film, and accessories. If you're more of a hands-on shopper, visit our worldwide gallery stores!
2016-01-15 #equipo #tutoriales #tipster #taking-back-tipsters #photo-texture


Un Comentario