Using the Smartphone Scanner on Android Devices With Photo Editor
1 9 Share TweetWhen the very first Smartphone Film Scanner prototypes landed in our office, we were anxious to get our hands on them and take them for a spin. Before having the LomoScanner App, we tried it first using a free Android application, Photo Editor. In this article, we’ll take a quick look at how you can use Photo Editor on your Android device to start scanning photos with the Lomography Smartphone Film Scanner.
For this walkthrough, I used one of the photos taken by our friends at Skateistan, over in Afghanistan.
Photo Editor
If you haven’t installed Photo Editor yet you can find a download link here . The first photo in the gallery is how the final result will look like, right below I guide you through all the steps.


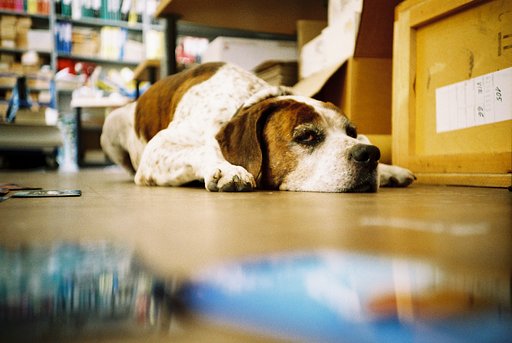
1. The final result
2. Once your phone is on the Scanner, use the camera feature to take a photo of the scan.
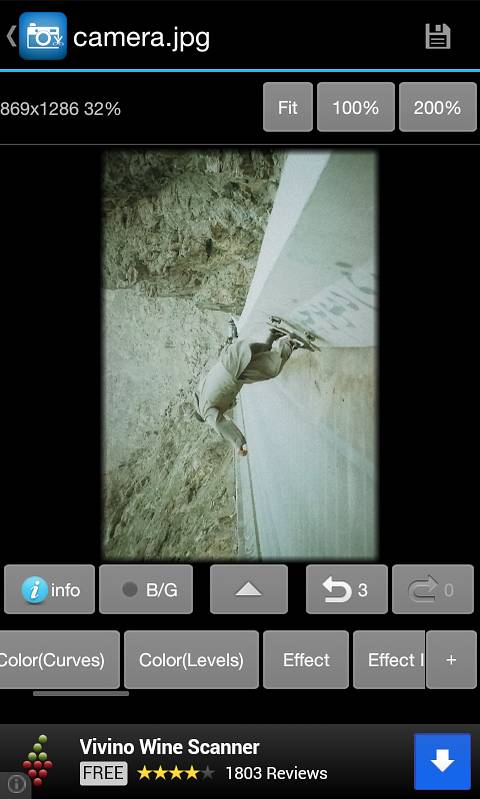
3. Now it’s time to crop the image using the Free Crop tool.
4. With the image cropped, choose the Invert feature under “Effect”.
5. Now rotate if necessary.
6. Now at this stage the Photo Editor App has a selection of different color correction tools. Depending on what type of film you have, you may want to play around with this to get the desired colors.
There you go! Hopefully this tutorial helps and if you have any feedback, just let us know!
escrito por devoncaulfield el 2013-04-05 #equipo #tutoriales #tipster #android-photo-editor-scanner-app


Un Comentario