DIY Color Gels with a Twist!
5 58 Share TweetDid you lose your color gels for your Colorsplash Flash? Or are you just getting a bit bored with your same old color gels? Read on to see how to make your own color gels with a bit of twist on it! In this tipster, you will learn how to make color gels for your Colorsplash Splash. Not just the normal color gels, but color gels that will provide more than 1 color on your flash!
Materials
- Markers
- Scissors
- Acetate/transparency paper

Instructions
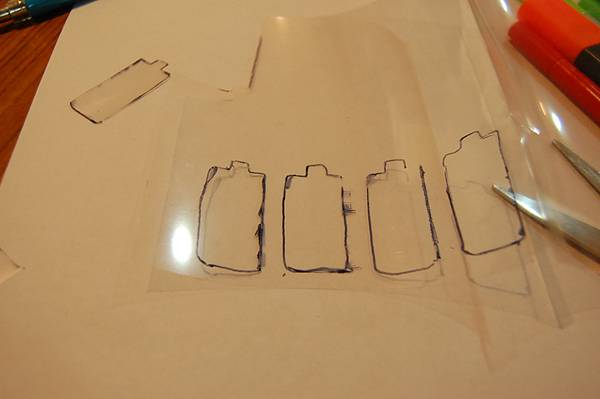
The first thing you need to do is to trace the shape of the color gel on your transparency paper. You can also make bigger color gels, like for the Diana Flash or any other flash. I think that will work too. Then, cut out the traced color gel. Be careful in using the scissors.
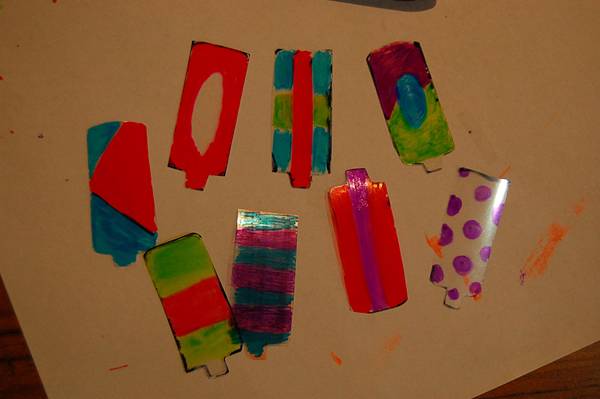
After cutting the shapes comes the fun part! Be creative and start coloring your color gels. You can even experiment, like coloring the upper half with red then the other half with blue, or you can make vertical stripes and dotted patterns. Make sure that you fill it with as much color as you can.


Once your gels are dry, load them in your Colorsplash Flash and have fun shooting! I used an expired Agfa Vista 100 in these photos, but I think it’s better to use 400 ISO film and shoot a bit further. Also, I suggest you put 2 color gels at the same time for more effect. Experiment more and Lomo On!


This tipster was written by Lomographer walasiteodito. For more tipsters, make sure to keep yourself updated with fellow Lomographers by following them with your own LomoHome.
escrito por walasiteodito el 2012-07-19 #equipo #tutoriales #diy #color-gels #tipster #lomography #colorsplash-flash #color-filter #camera-accessory #walasiteodito


5 Comentarios