How to Rescue Old Instant Film Negatives by Nick Tauro Jr.
8 18 Share TweetA large part of the film photography community is built on an obsession with the extinct and obsolete, with people flocking to buy expired film and discontinued cameras. One of the items on every film lover’s wishlist is the Fujifilm peel-apart film, which ceased production in 2016. In this article, Lomographer Nick Tauro Jr. a.k.a. @nicktaurojr gives us a step-by-step guide on how to reclaim the negative image from this highly sought-after film. Read this in-depth guide from the experimenter himself!


Nick's Old Instant Film Tipster Backstory
I tinker. I putz. I dabble. I guess I need to keep my mind and my hands busy, otherwise the dark clouds can form. Enough said. I used to shoot quite a bit with my great Polaroid 360 camera. A glass lens, manual focus, Zeiss viewfinder, accordion bellows beast. I was inspired by the work done by Patti Smith, and back in the day, Fuji peel-apart film was cheap (like 10 bucks a box cheap). Well, take a stroll over to eBay and you know those days are long gone, and Fuji isn’t even making the film anymore. So with a bare film shelf in my fridge, I had to put my 360 to rest.
I did have the forethought to keep the negative backing from some of my peel apart photos. Most folks would throw that part away, keeping only the nicely colored, long-lasting positive image. However, they didn’t realize that there was a salvageable “negative” buried beneath the backing paper and black, chemical coating. You can “reclaim” these negatives with a simple process using cling bleach and warm water. I went down the rabbit hole this week (tinkering, putzing) and reclaimed a bunch of old negatives…some shot over 6 years ago. I figured I’d share the process, in case anyone with deep pockets is still buying and shooting the Fuji dead stock and wants to get more mileage out of the film.

Instructions
The first time I tried this process, I was extra careful in my preparations, even taping down the edges of each sheet before bleaching. That step turned out to be unnecessary on subsequent trials, so things ended up going much quicker after that first go around.
Before you begin: Be safe! Wear eye protection, wear gloves, and work in a sink area with a water faucet nearby.
1. Grab the left-over backing paper from a recently (or not so recently) exposed sheet of Fuji peel-apart film. There are two sides, the one with the matte, black coating is the side you want to work with. Remove excess paper around the edges, if you so desire.


2. In a sink, place the sheet face down on a flat surface. I used a small developing tray.


3. Using toilet cleaner bleach (the kind that is in gel form is really the best way to go since it doesn’t run all over the place). Also note: The first time I tried the process, I did not use the gel-type of bleach, and it turned out to be very difficult to control the results with just normal bleach. The gel really helps you control the timing and keeps the bleach from getting all over you!


4. Let it sit for about 30s to a minute.

5. Rinse carefully with water. You’ll see chunks of black goo pulling off the negative. This is what you want to happen. Rinse until no more black chunks are visible, water runs clear.


6. Flip the negative over and rinse under warm (to hot) water, gently rubbing the surface with your fingers. try not to scratch, but even if you do, it’ll probably look cool. This step takes off any binding goo, but please note: you do not want to use bleach on this side.

7. Hang to dry.
Nick’s Thoughts and Results
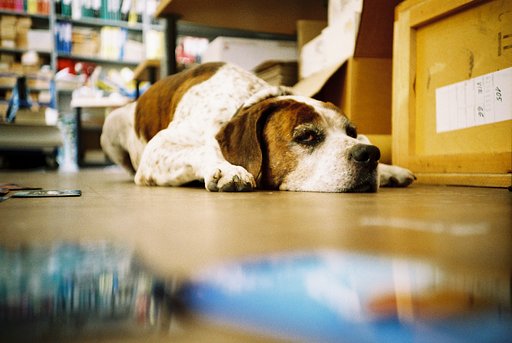
You’ll see a discolored negative image of the original photo, which you can place on a light source and take a photo of it (or scan it like film) and then invert in Photoshop, or the app of your choice. Do some adjustments to your liking... and voila! You have a cool, one-of-a-kind, image. Rescued from oblivion, or at least the garbage dump. The fun thing about this process is you end up getting odd color shifts, surface textures, and rough edges that an Instagram dweeb would pee themselves over. I personally really like the look of scratches and emulsion distress. It might feel like you are visiting an old friend who you lost touch with years ago... they may look different, but they are still close to how you remember them.


Honestly, I wish I had kept all the backing sheets from all of my peel-apart images that I made over the years. I threw out a bunch of them before ever realizing that they could be reclaimed in this manner. It would have been fun to have more "negatives" to work with.
Lately, I've been busy in my studio, splitting my time between producing my photo podcast Right Eye Dominant and working on my next photo zine... and of course, shooting lots of film!
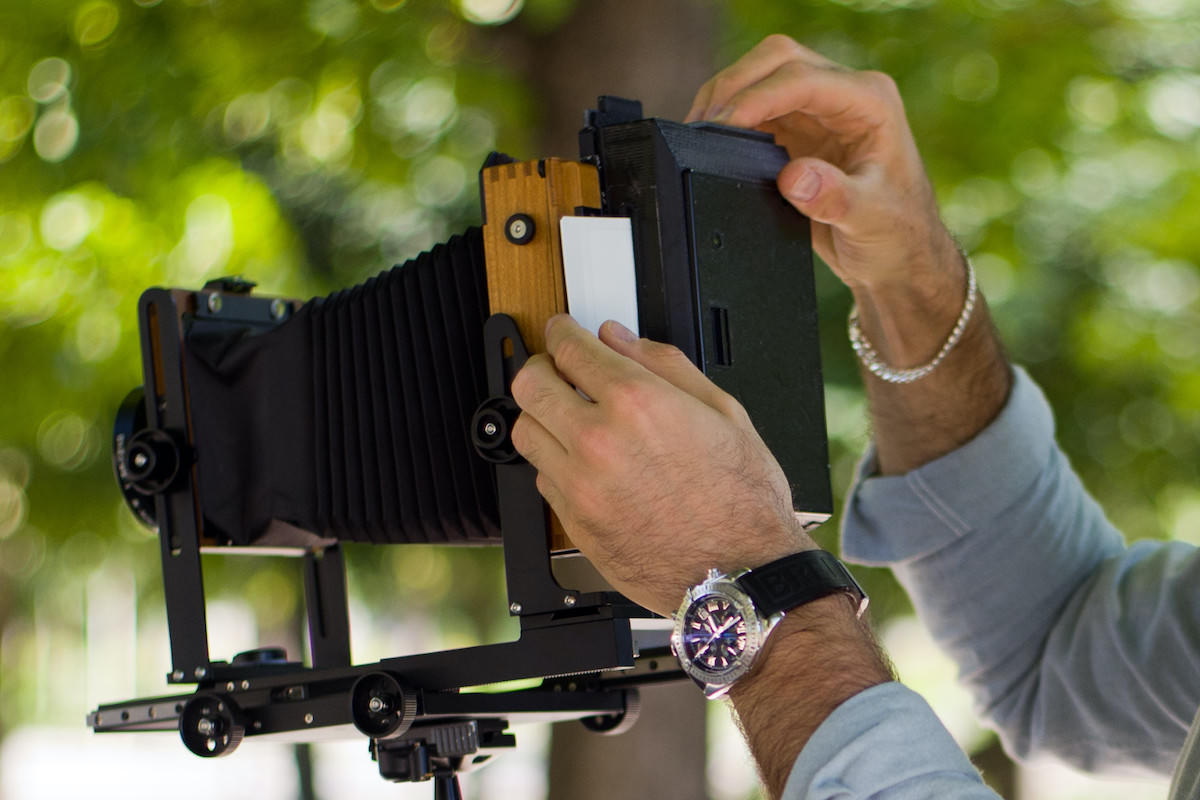
Thanks so much for sharing this amazing tipster and project, Nick! Check out his website and LomoHome. Did this tipster inspire you to experiment with instant film? Try using your medium format cameras with the LomoGraflok!
escrito por cielsan el 2022-01-07 #gente #tutoriales #instant-film #lomograflok #nick-tauro-jr


8 Comentarios